With Event Additional Dates Settings, you can create and control extra event days and create unique dates, times, and locations for each!
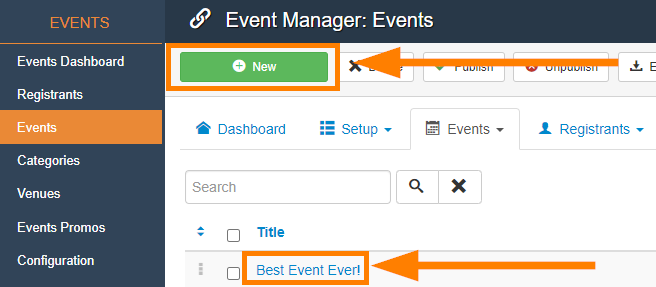
To get started, click "New" in the Event Menu to create a new event, or click on an Event you already created to edit it:
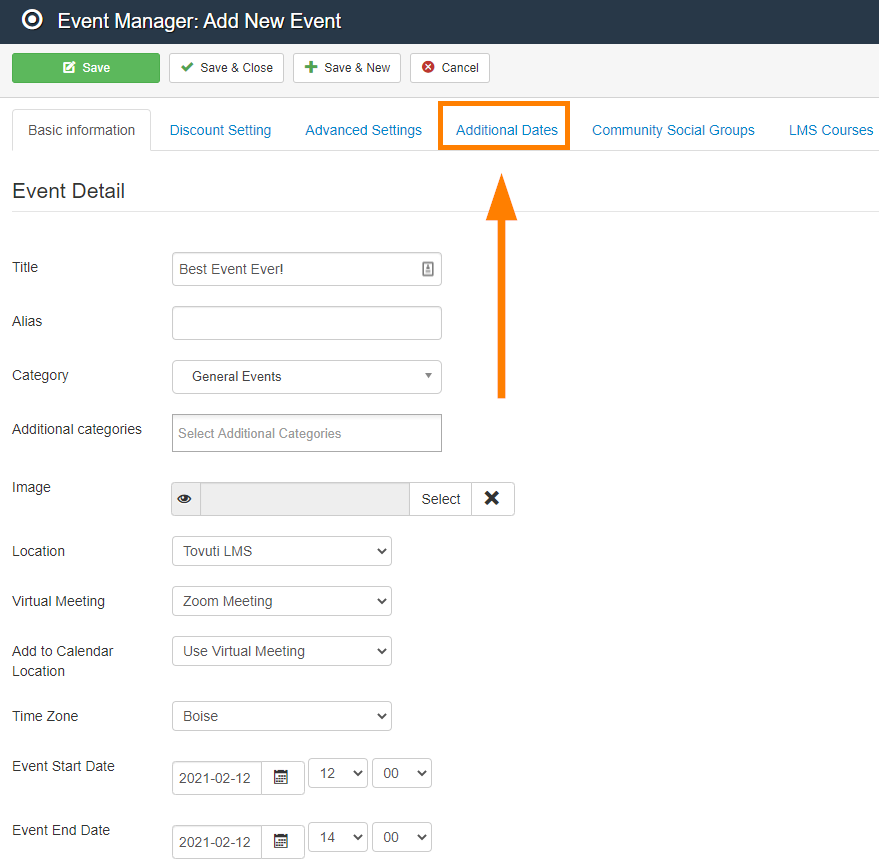
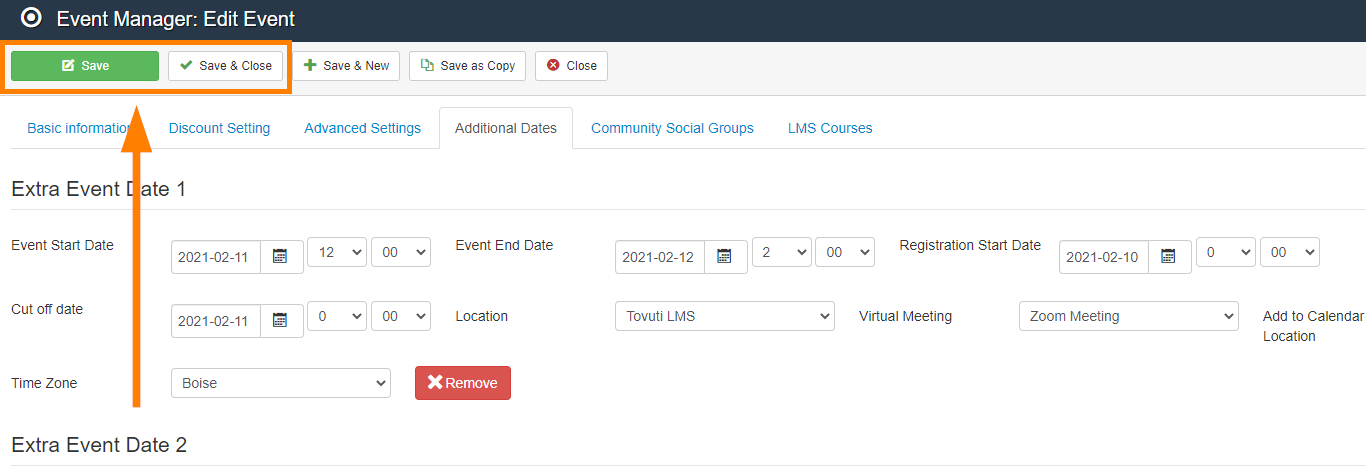
Configure the event as normal according to our Configure an Event article, then go to the Additional Dates tab:
Select and Configure the additional dates available for users to register to, as well as the location they use.
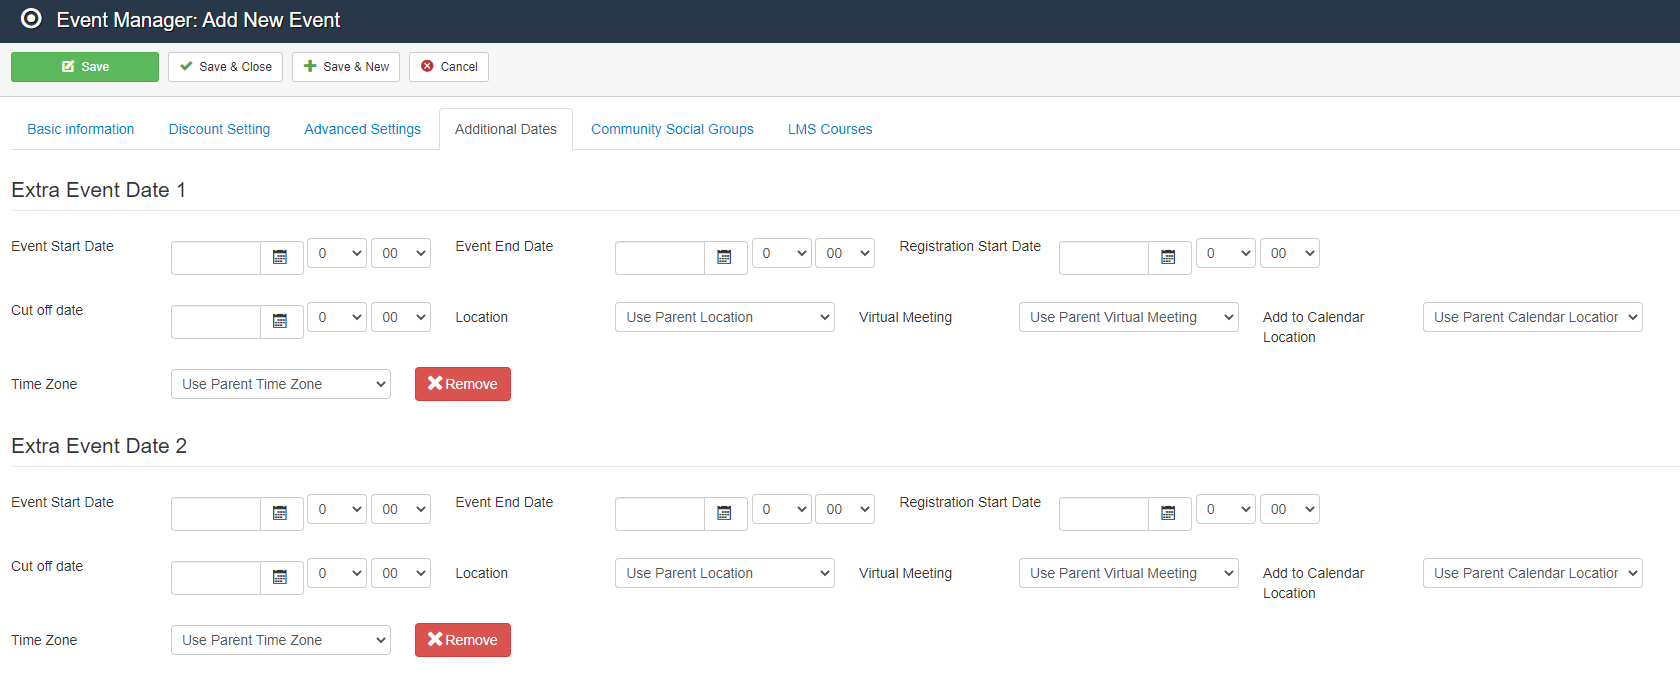
- Event Start Date = The Start Date and Time for the event
- Event End Date = The End Date and Time for the event
- Registration Start Date = When users can start registering for the event
- Cut off date = When no more registrations are accepted for the event
- Location = Physical Location for the Event
- Virtual Meeting = Virtual Location for the Event
- Add to Calendar Location = Which location, Physical or Virtual, will be saved to a user's calendar
- Time Zone = Time Zone for the event
Click Save after finalizing all of the additional date times and locations!
Tip: You can make any adjustments to the event parent or child separately, and can even use the parent event as a master event to update your child events so you don't have to go into them individually to make date/time/location adjustments!
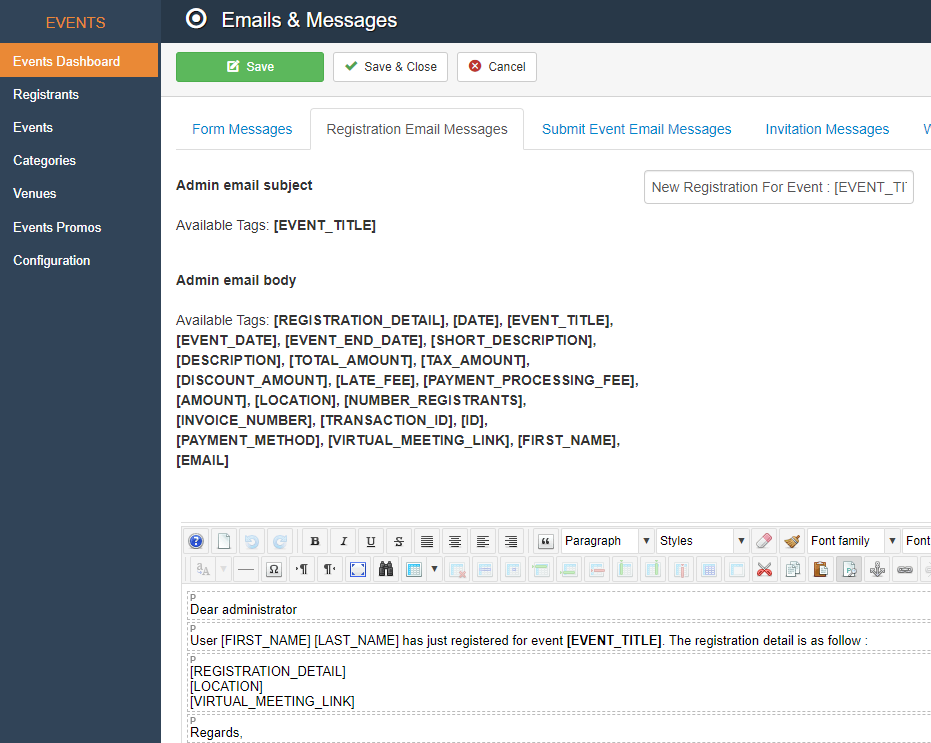
Note: If you would like to include the physical or virtual meeting location in the Registration Confirmation email that registrants receive, you can go to the Events Dashboard Emails & Messages section to update the default template to include the appropriate merge tags: