This article will help you with setting up a dedicated captioner inside your Virtual Classroom to better assist your learners.
Prerequisite: Before starting your Virtual Classroom, be sure to include your dedicated captioner as one of your Hosts for the meeting.
- Add the presenter and dedicated captioner as Hosts for the Virtual Class

- Begin the meeting
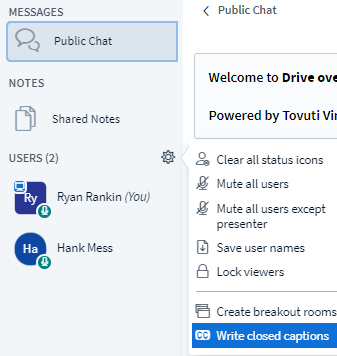
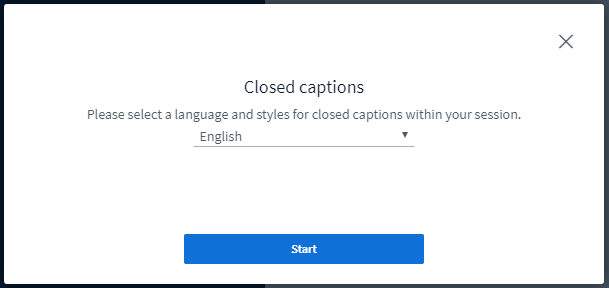
- The captioner will need to click the Gear icon next to Users and select Write closed captions.
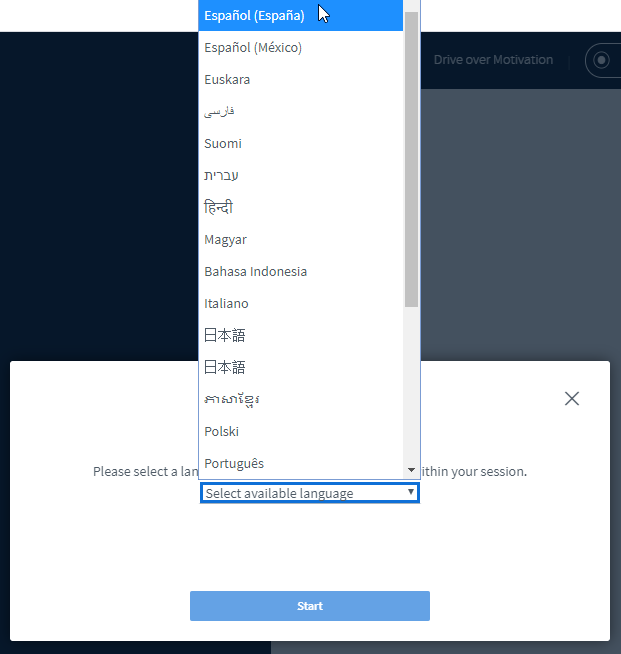
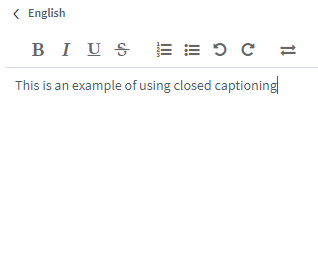
- Select the Closed Captioning Language
 \
\ - The captioner can begin providing closed captioning by typing in the Notes section of the meeting.
Viewing the Closed Captions as a User
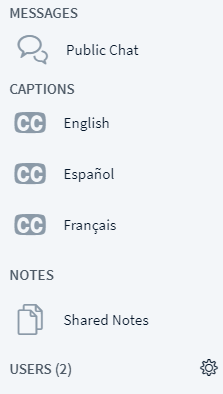
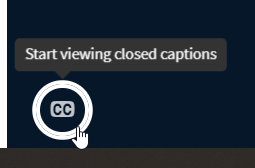
For a user to access closed captioning, have the user click on the CC Icon in the bottom left of the screen:
Here is what the user will see when viewing closed captioning: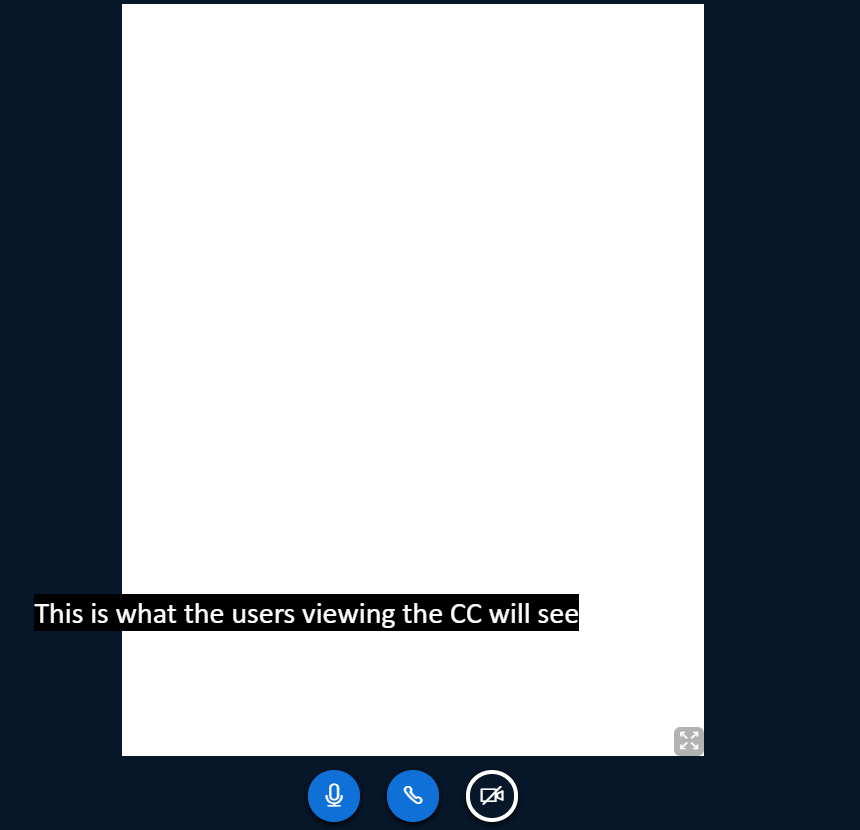
Helpful Extras
Promote a user within the meeting
If you forgot to include a dedicated captioner in the basic setup, there is no need to worry! Simply click on the name of the user you wish to promote to captioner, and select Promote to moderator.
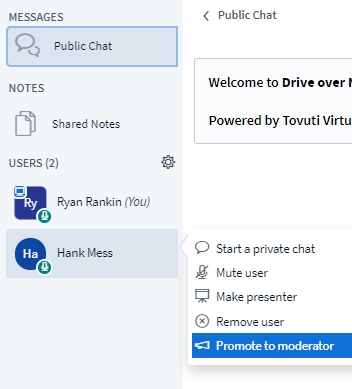
Once promoted, the promoted user can begin accessing and providing closed captioning for your virtual classroom.
Multiple languages available
You can include multiple languages for closed captioning, and have multiple users contribute to providing closed captioning for your viewers. Simply repeat the closed captioning steps for each additional language you wish to provide.