
Full walk-through to setup and enable AWS Cognito SSO with Tovuti.
Step 1: Create New SSO Provider
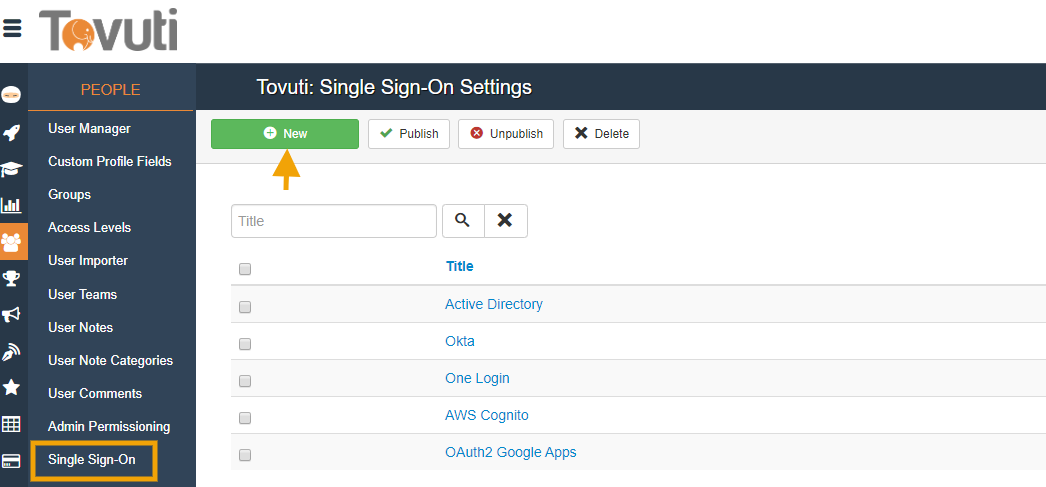
Click on > People

Open > Single Sign-On

Click > New
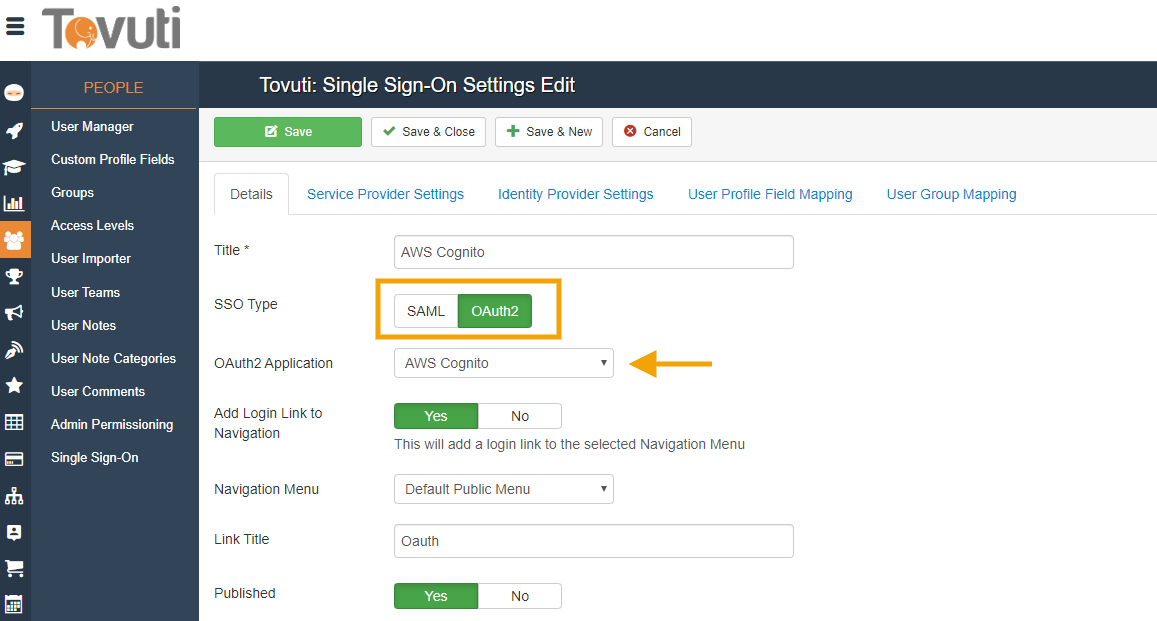
Enter the Title and Details > Select OAuth2 > Select AWS Cognito
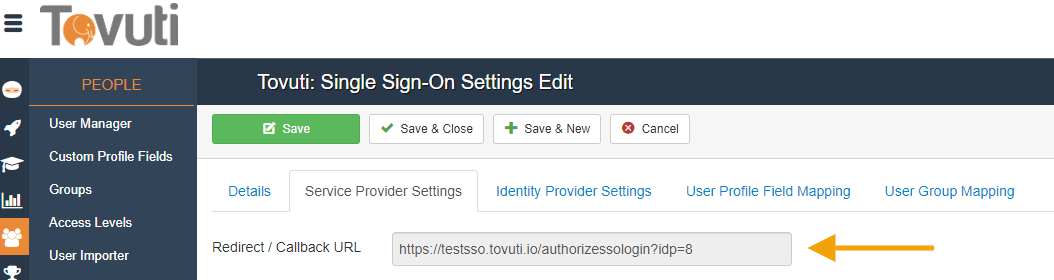
Go to > Service Provider Settings where a unique Redirect/Callback URL is created for you

Step 2: Configuring AWS Cognito as Identity Provider (IDP)
Log into AWS Admin Console go to > Cognito and select > Manage User Pools

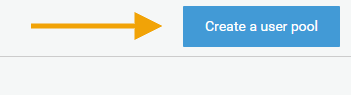
Click on > Create a User Pool
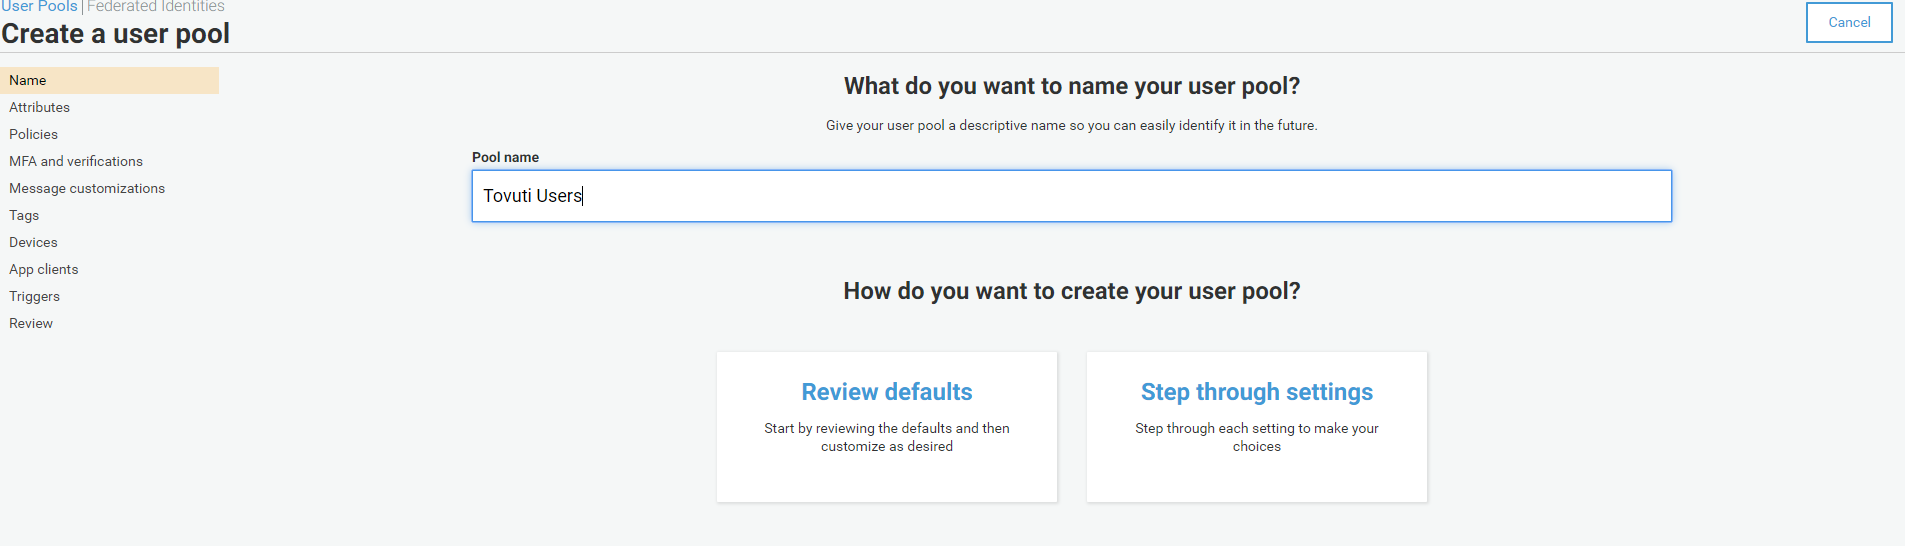
Name your User Pool
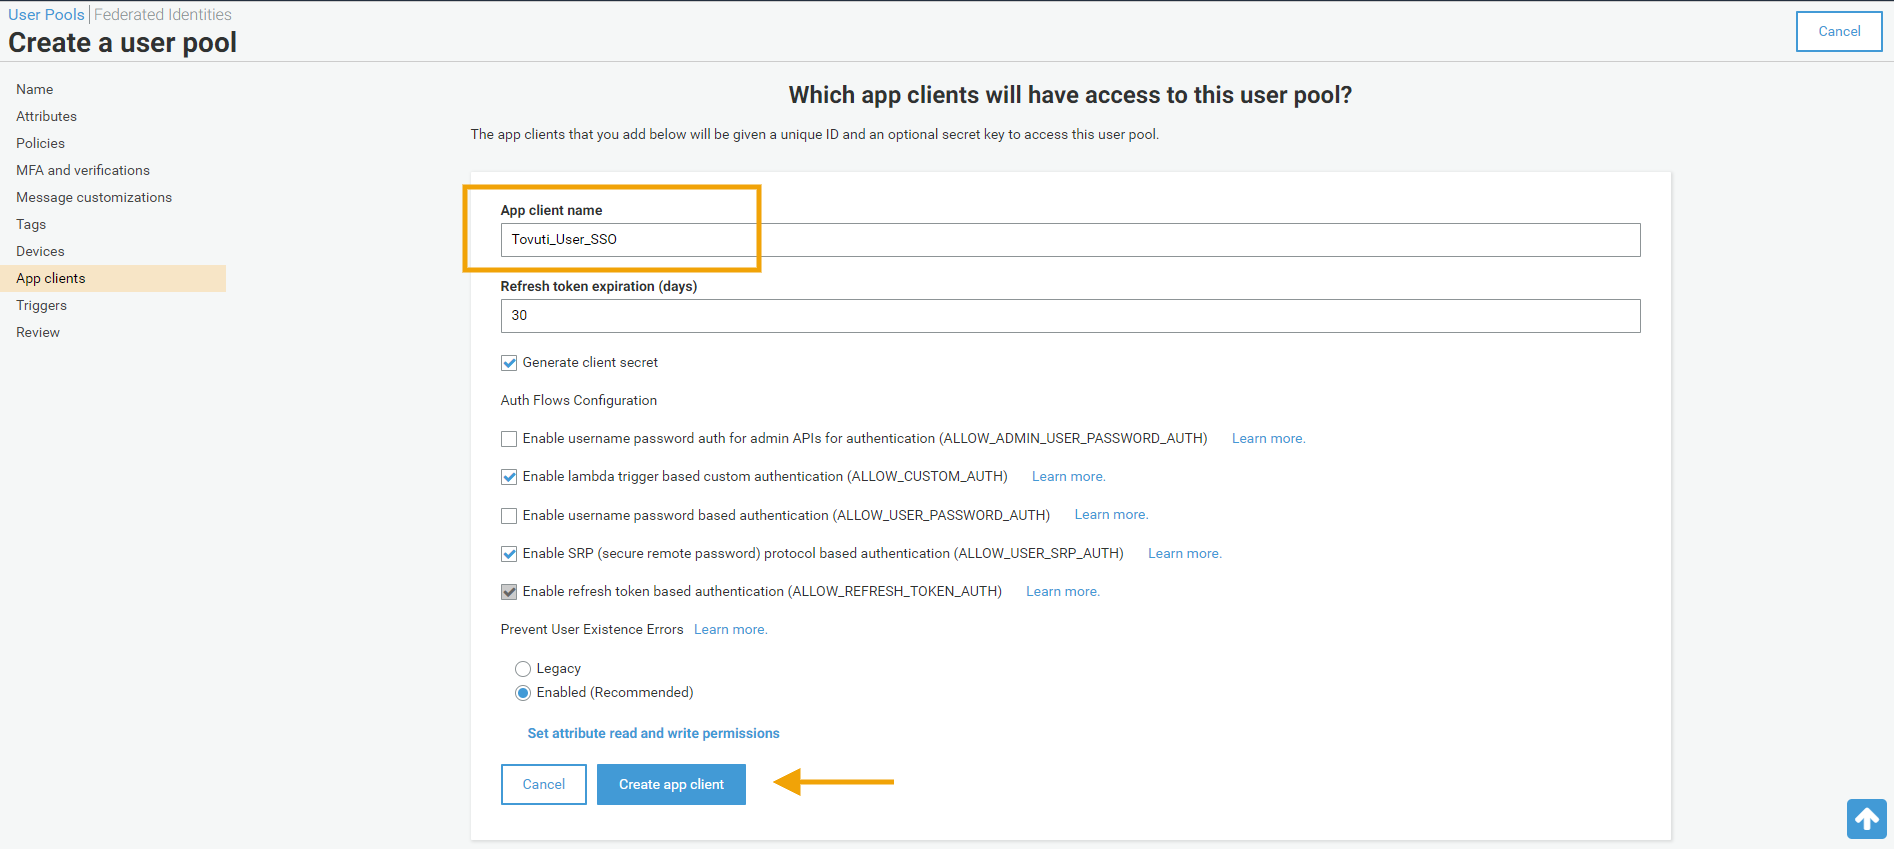
Click > Add App Client

Enter > App Client Name click > Create app client
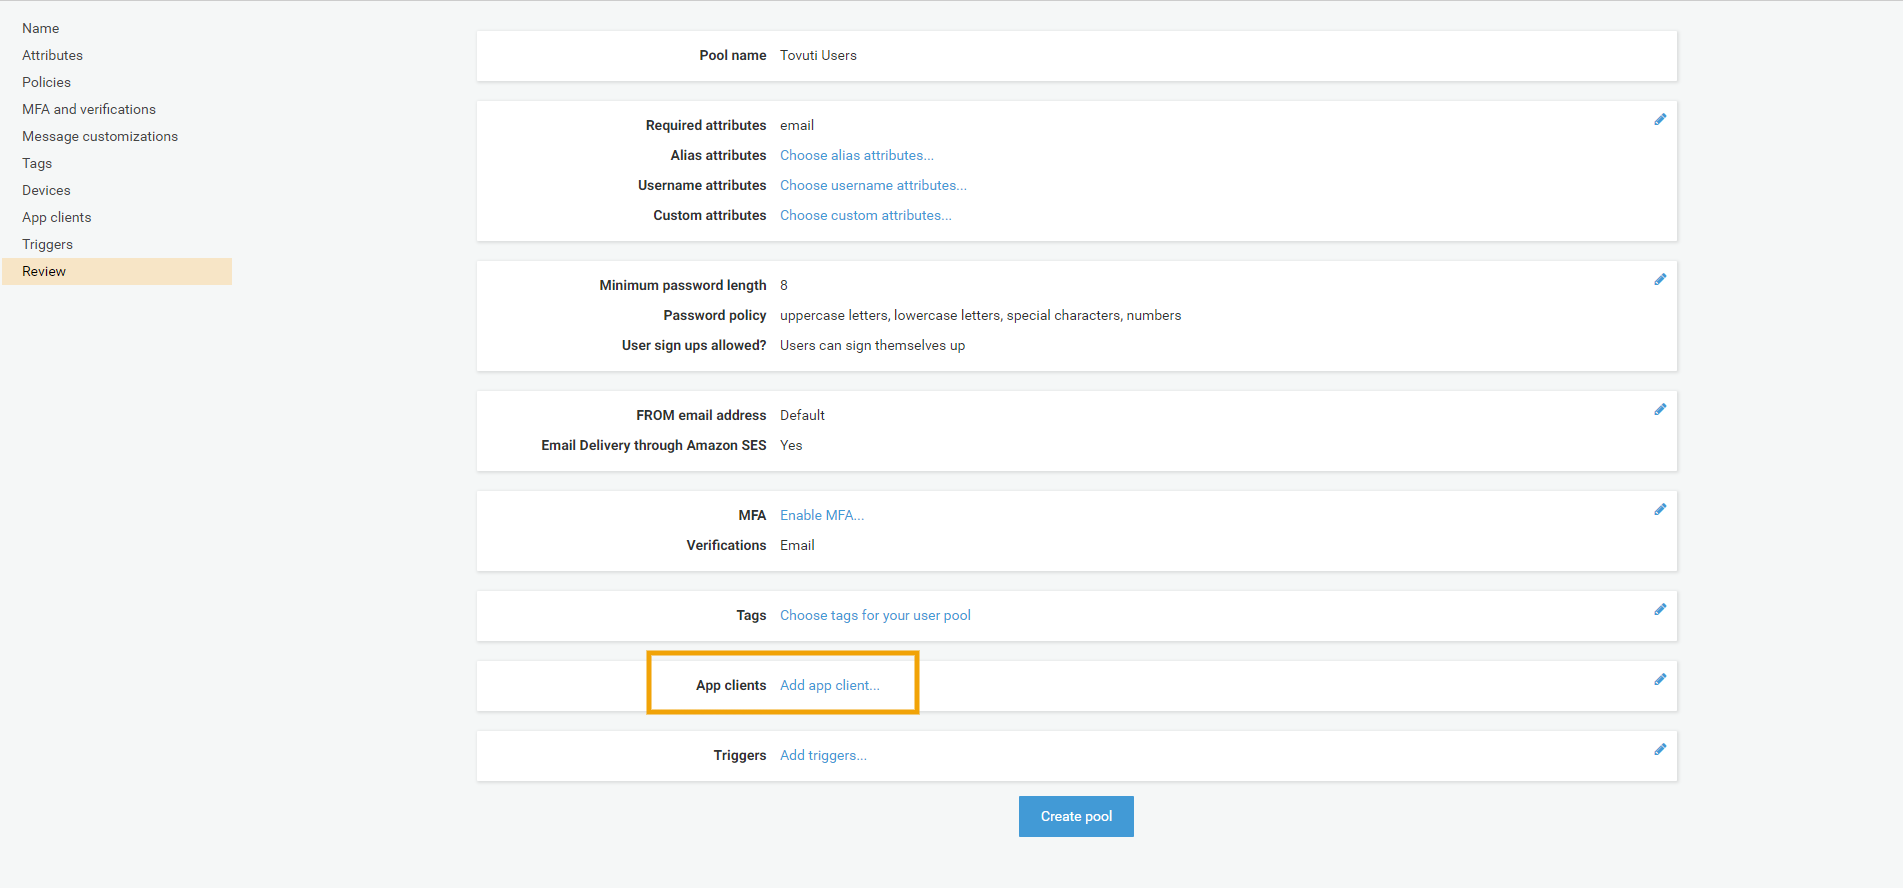
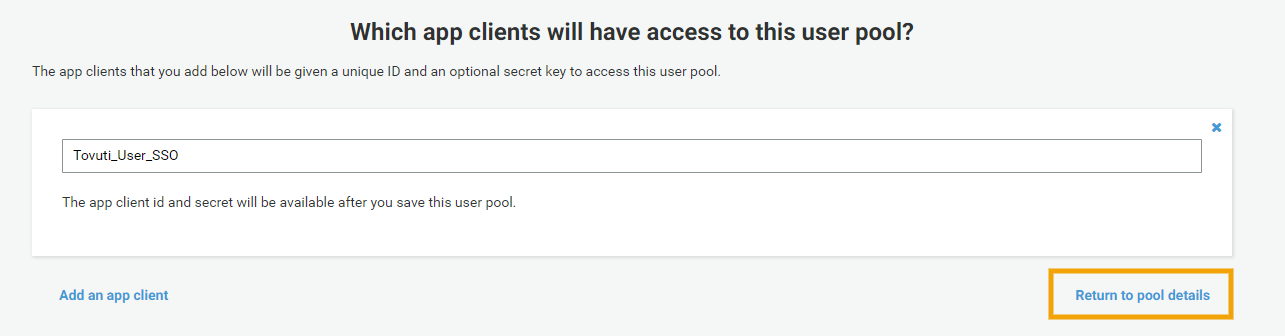
Click > Return to pool details
Click > Create Pool

Go to > App Integration > App client settings
Select > Enabled Identity Providers > Cognito User Pool
Copy and Paste the Callback URL from the Tovuti Service Provider Settings into the Callback URL Field
In Allowed OAuth Flows select > Authorization code grant
In Allowed OAuth Scopes select > openid and profile
Click > Save changes

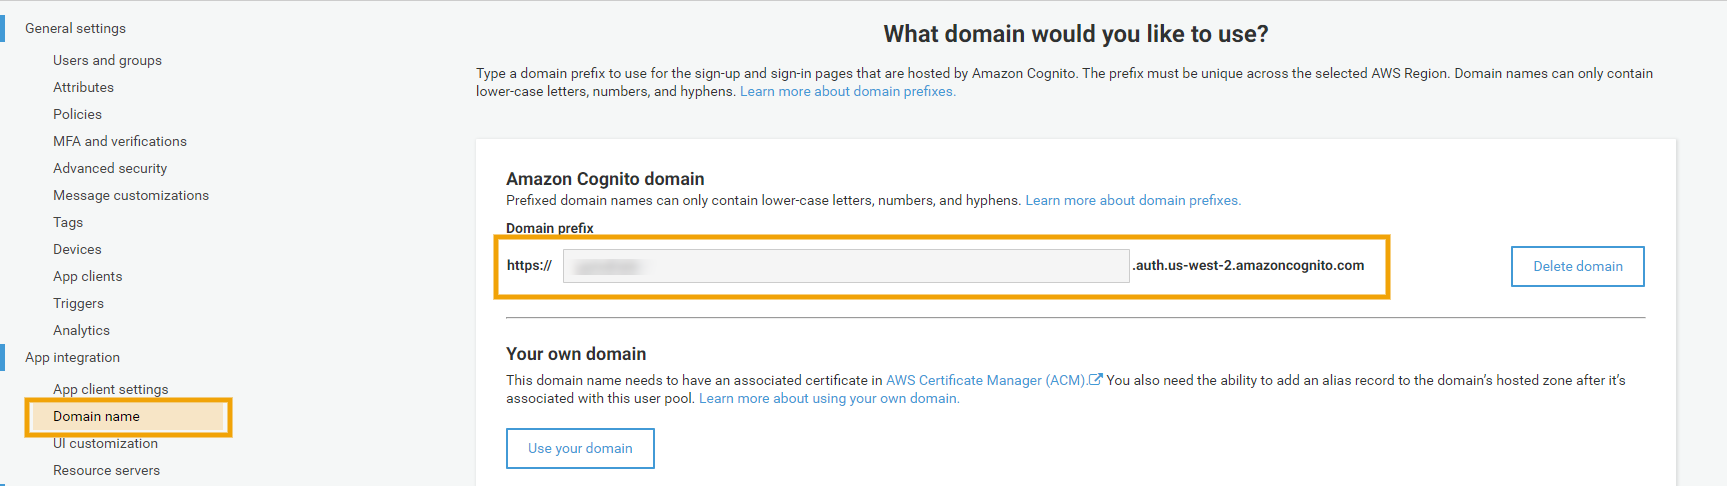
The Final Step in your AWS Cognito App Configuration is to create a Domain name
Go to > App Integration > Domain name
Enter a Domain name
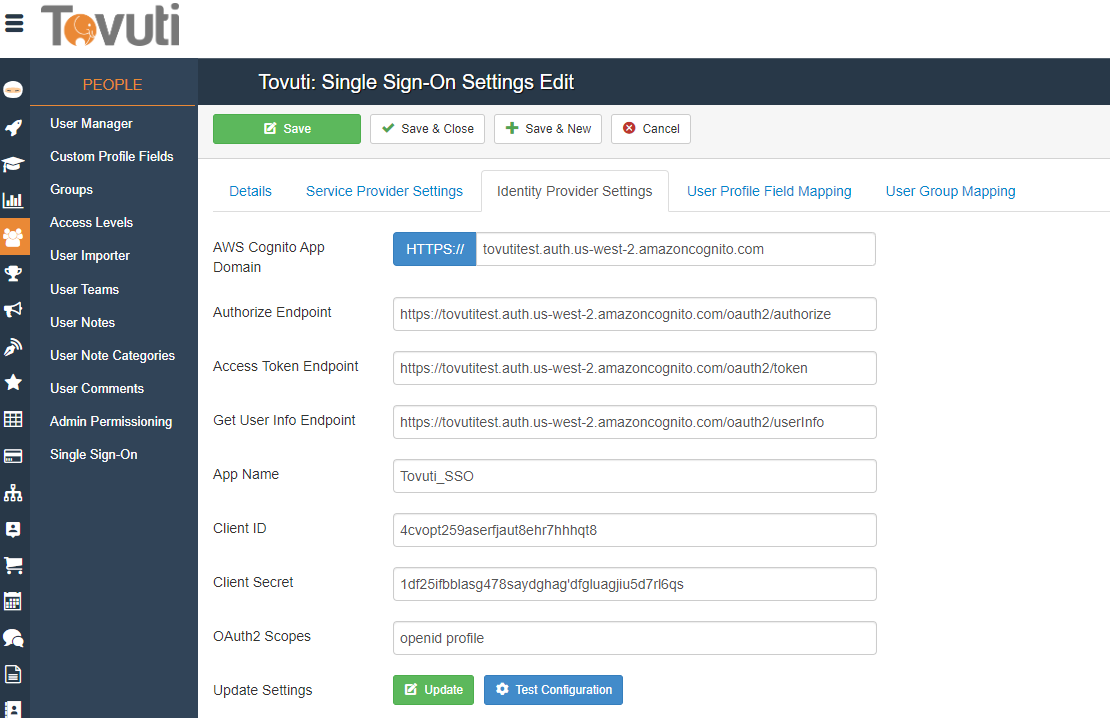
Step 3: Finish Configuring Tovuti as Service Provider (SP)
Enter the following information found in the AWS Cognito App Settings
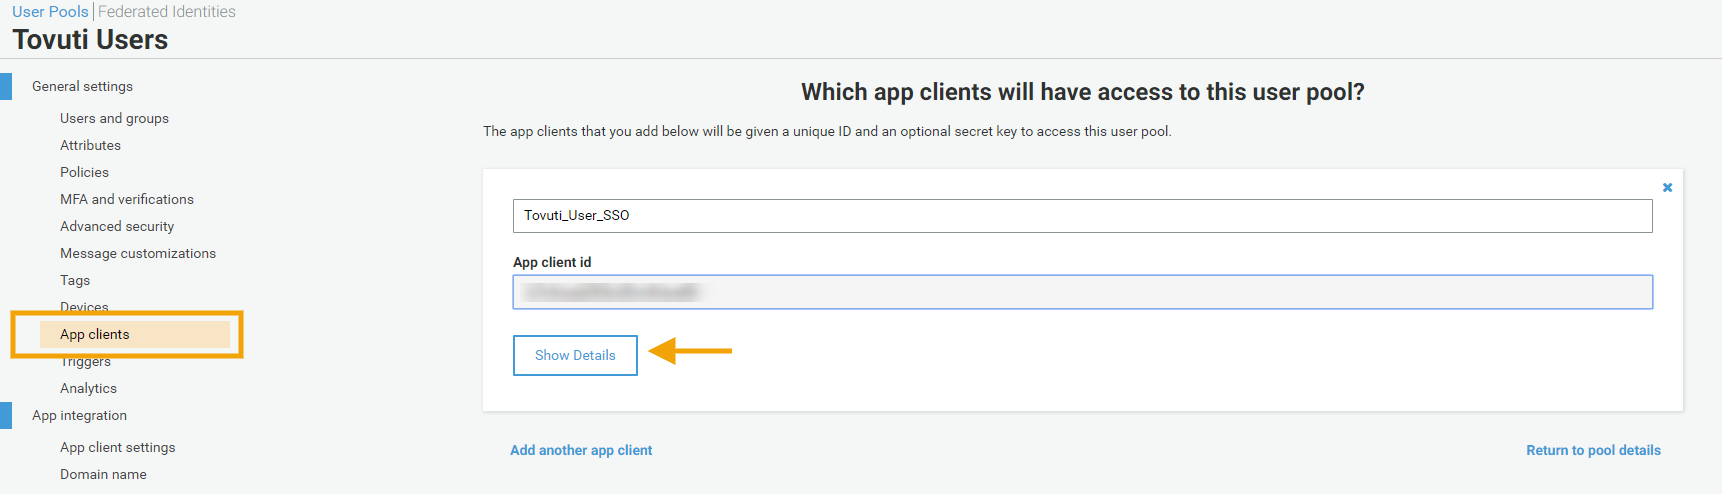
Go to > General Settings > App clients
Click > Show Details
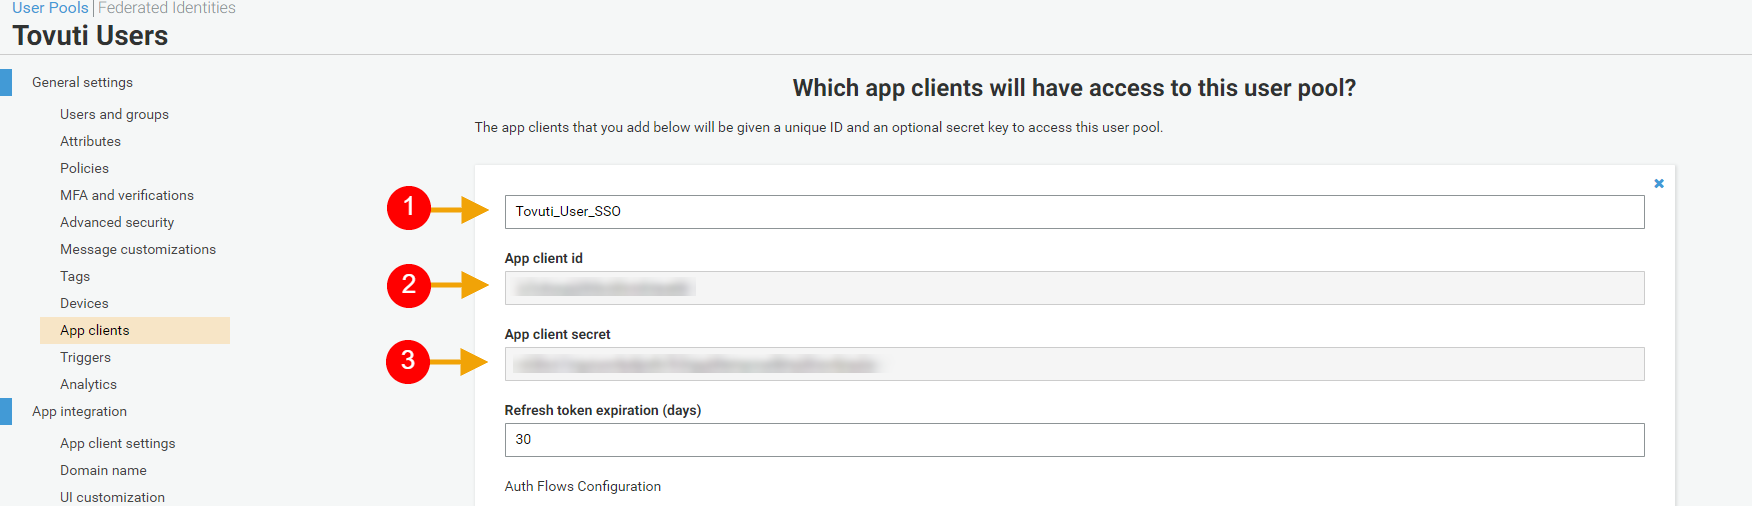
Copy and Paste the 3 Items above into you Tovuti Identity Provider Settings
- App Name
- App Client ID
- App Client Secret
Copy and paste the Domain name into the AWS Cognito App Domain Field
Step 4: User Profile Field and Attribute Mapping
- Attributes are user details that are stored in your Identity Provider.
- Attribute Mapping helps you to get user attributes from your Identity Provider and map them to Tovuti user attributes like firstname, lastname etc.
- While auto registering the users in your Tovuti site these attributes will automatically get mapped to your Tovuti user details.
- In Tovuti User Profile Field Mapping tab and fill in all the fields.

*You can check the Test Configuration Results under Identity Provider Settings tab to get a better idea of which values to map here.
Step 5: User Group Mapping
- While auto registering, the users are assigned roles based on the group they are mapped to.
- Assign a default User Group
- Enter the Attribute Name for AWS Cognito Roles/Groups

*You can check the Test Configuration Results under Identity Provider Settings tab to get a better idea of which values to map here.
Step 6: Enable Login Link
Go to Details Tab and click Yes for Add Login Link to Navigation select the menu that you want the link to appear on and give the link a name

Click Save and Your AWS Cognito SSO is Now Setup
(make sure to run multiple tests to ensure that all of your settings are correct)